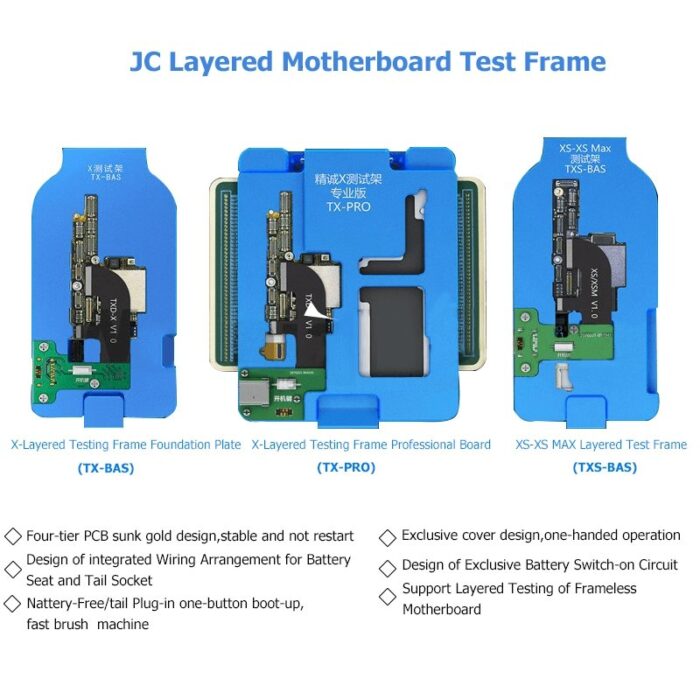
JC Logic Board Basic Version layered Testing Fixture Motherboard Layered Test Stand
JC Logic Board Basic Version layered Testing Fixture Motherboard Layered Test Stand is a professional motherboard repair tool for iPhone series mobile phones. such as iPhone X. XS. XS MAX. etc.. which can realize the quick flashing of iPhone mobile phones.
Oriwhiz provides the high-quality JC Logic Board Basic Version layered Testing Fixture Motherboard Layered Test Stand that can help repair the motherland and realize the quick flashing of iPhone mobile phones.
Specification of JC Logic Board Basic Version layered Testing Fixture Motherboard Layered Test Stand
Model: JC-TX BAS. JC- TXS BAS
Size: 155*110*40(mm)
Color: Blue
Ambient Light Sensor: for iPhone X. XS. Xs Max
1. Four layers gold plated PCB design. stable working without rebooting
2. Unique one handle flip design
3. Battery. dock flex cable integration design
4. Unique circuit designed for battery power supply
5. Non-frame layered logic board testing supported
6. Battery and dock flex-free design for one key boot. fast brushing
7.iPhone XS.XS MAX supported
Instruction of JC Logic Board Basic Version layered Testing Fixture Motherboard Layered Test Stand
Step 1
1. Put the middle frame bracket to the button of layered Test fixture ( Testing adapted with/without fixture middle frame )
2 . Put the lower logic board on the middle frame properly( please pay attention to the position of holes
3 . Put the pinboard on the lower logic board( please pay attention to the position of holes
4 . Put the upper logic board on the pinboard ( please pay attention to the position of holes)
5 . Connect the extension flex cable of the display screen properly
6 . Clip the upper cover. clip the builtin battery and dock flex connector. clip the dock flex cable and extension flex cable for display screen )
7 . Clip the display to the extension flex cable of the display screen.
8 . Connect C1 to TX-BAS via port accordingly. press the power key to start Testing on display screens ( testing function if touch panel and logic board
9 . Current and voltage data available on the OLED display of C1
10 . Connect with PC. running iTunes or aisi mobile phone assistant to do the brushing operations
Step2. power supply with battery
Power supply by battery operations
1. Clip the battery flex cable to the connector board
2. Press the power key on connecting the board to boot The logic board for function testing
Step3. Power supply with DC Power
1 . Connect the type c port power cable with TX-BAS via the power port
2 . Voltage setting as 4.2 V. current setting as 3A
3 . Banana cable connect C1 and power source
4 . Press the power for logic board booting. and function testing


Reviews
There are no reviews yet.